
Relying Solely on Auto Mode
One of the most common mistakes beginners make in interior photography is depending on auto mode for camera settings. While auto can occasionally yield decent results, it often misjudges lighting conditions, leading to overexposed highlights, underexposed shadows, or odd white balance. Learning to use manual mode or at least aperture priority gives you far more control over exposure, depth of field, and overall image quality.
To fix this, take the time to understand the exposure triangle: aperture, shutter speed, and ISO. Use a tripod to accommodate slower shutter speeds, allowing for lower ISO and sharper images. Control aperture to manage the depth of field—interior shots usually benefit from a higher f-stop to keep the scene in focus.
Ignoring Light Quality and Direction
Another beginner error is neglecting how light interacts with the space. Shooting without considering light direction can result in flat, lifeless images. Ignoring light quality—whether it’s harsh midday sun or dim artificial bulbs—can introduce unwanted shadows, color casts, or blown-out highlights.
The solution is to study the natural light in each room. Shoot during times when the light is soft and directional—typically early morning or late afternoon. Turn off artificial lights unless you are deliberately mixing them. Use reflectors to bounce light into shadowed areas and avoid using your camera’s built-in flash, which often creates harsh, unnatural lighting.
Not Using a Tripod
Many new photographers try to shoot interiors handheld, especially if the room seems bright enough. But interior lighting is rarely as strong as outdoor light, and handheld shooting often results in blurry images due to slow shutter speeds.
Invest in a sturdy tripod. It allows for longer exposures and better composition control. With a tripod, you can use lower ISO for cleaner images and higher f-stops to maintain focus throughout the scene. It also gives you the ability to fine-tune your framing and align vertical lines, which is crucial in architectural photography.
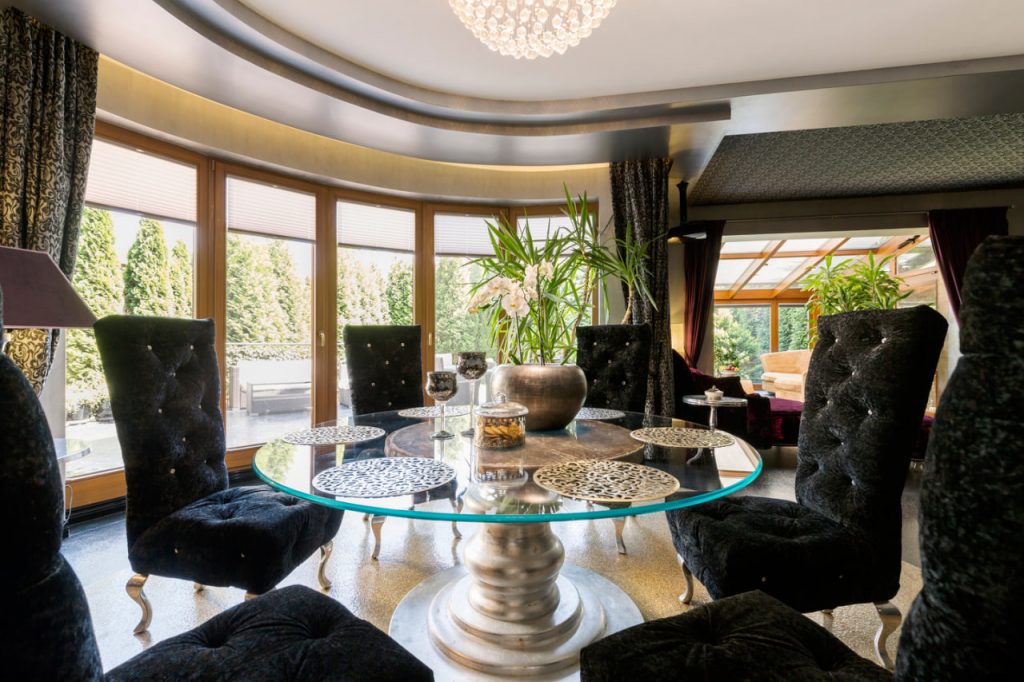
Poor Composition and Crooked Lines
Interior photography relies heavily on clean, balanced composition. Beginners often shoot from awkward angles or too high above the space, which distorts perspective. Crooked lines, particularly verticals like door frames and walls, can ruin an otherwise good shot.
To fix this, always shoot at chest height or slightly lower to maintain a natural perspective. Use a tripod and grid lines on your camera to align your frame. Keep vertical lines straight by avoiding upward or downward tilting of the camera. Post-processing tools like Lightroom’s Transform panel can also correct minor distortions.
Overediting or Undereediting
Post-processing is essential in interior photography, but beginners tend to go to extremes. Some underedit, leaving photos dull and lifeless, while others overedit with high contrast, saturation, or excessive sharpening, which can make the image feel artificial.
The key is subtlety. Adjust white balance for accuracy, enhance contrast slightly to add depth, and correct lens distortions or vertical skew. Avoid using HDR presets that create unnatural results. Strive for realism and consistency, especially if you’re shooting a series for a portfolio or client.
Forgetting to Stage or Declutter the Space
Even the best lighting and technical skills can’t save a poorly staged space. Beginners often photograph rooms exactly as they find them, including clutter, distracting objects, or poor furniture arrangement. This leads to busy images with no clear focal point.
Take the time to stage the room. Remove personal items, cables, or anything that distracts from the space’s design. Add props thoughtfully—like a book, plant, or throw pillow—to create warmth and balance. The goal is to tell a visual story of how the space feels when lived in, without making it look messy.
Using the Wrong Lens
Using the wrong lens can distort space or limit your field of view. Beginners may try to use a standard kit lens that doesn’t adequately capture the room. On the other hand, an ultra-wide lens used improperly can exaggerate space and cause distortion.
Choose a wide-angle lens with minimal distortion—something in the 16-24mm range on a full-frame camera. Always check the edges of your frame for stretching and correct this in post if needed. Avoid using fisheye lenses unless you’re going for a creative, distorted effect.
Inconsistent Style and Lighting Across Photos
When shooting a set of interiors, inconsistency in lighting, composition, or editing style can make the collection feel unprofessional. Beginners often make each photo look different in tone and temperature, breaking visual cohesion.
To fix this, shoot at the same time of day for consistent natural light. Use the same camera settings as much as possible and develop an editing workflow you can replicate. Apply similar presets or edits across all images, adjusting only slightly for exposure variations.